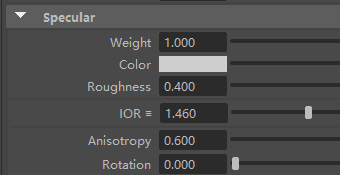

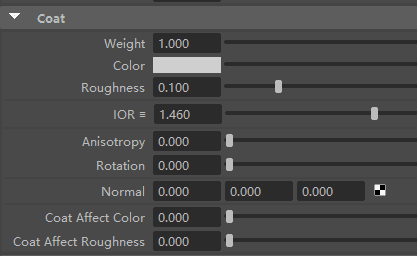
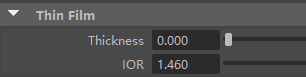
Correct Index of Refraction (IOR) values is an essential factor for achieving realistic rendering.
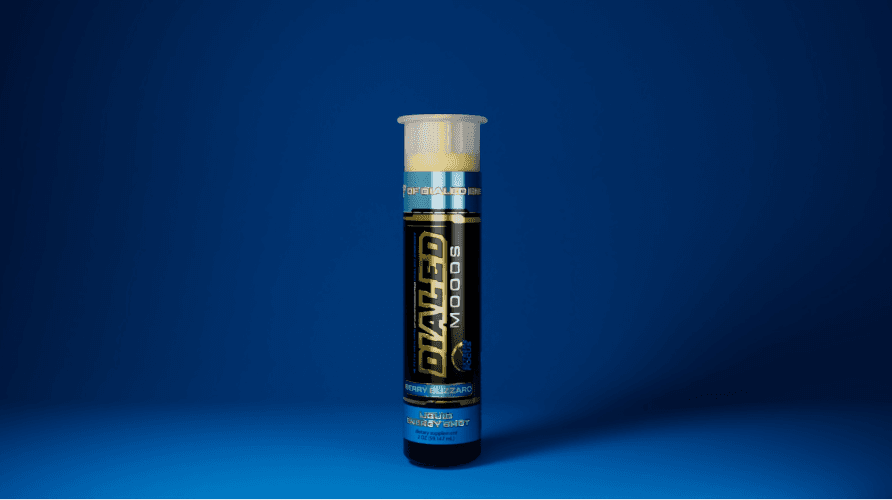
I adjusted the subsurface scattering (SSS) to achieve realistic translucency for plastic.
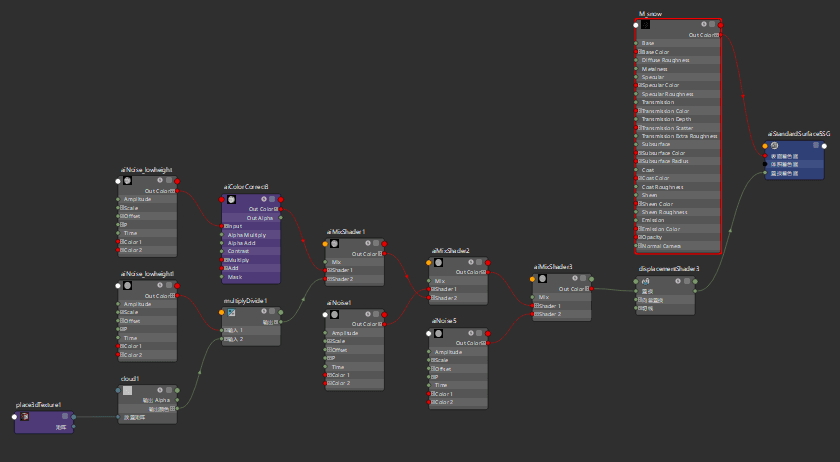
Utilize the provided AI graphics to generate displacement maps, mask maps, and other assets to enhance material quality and realism.
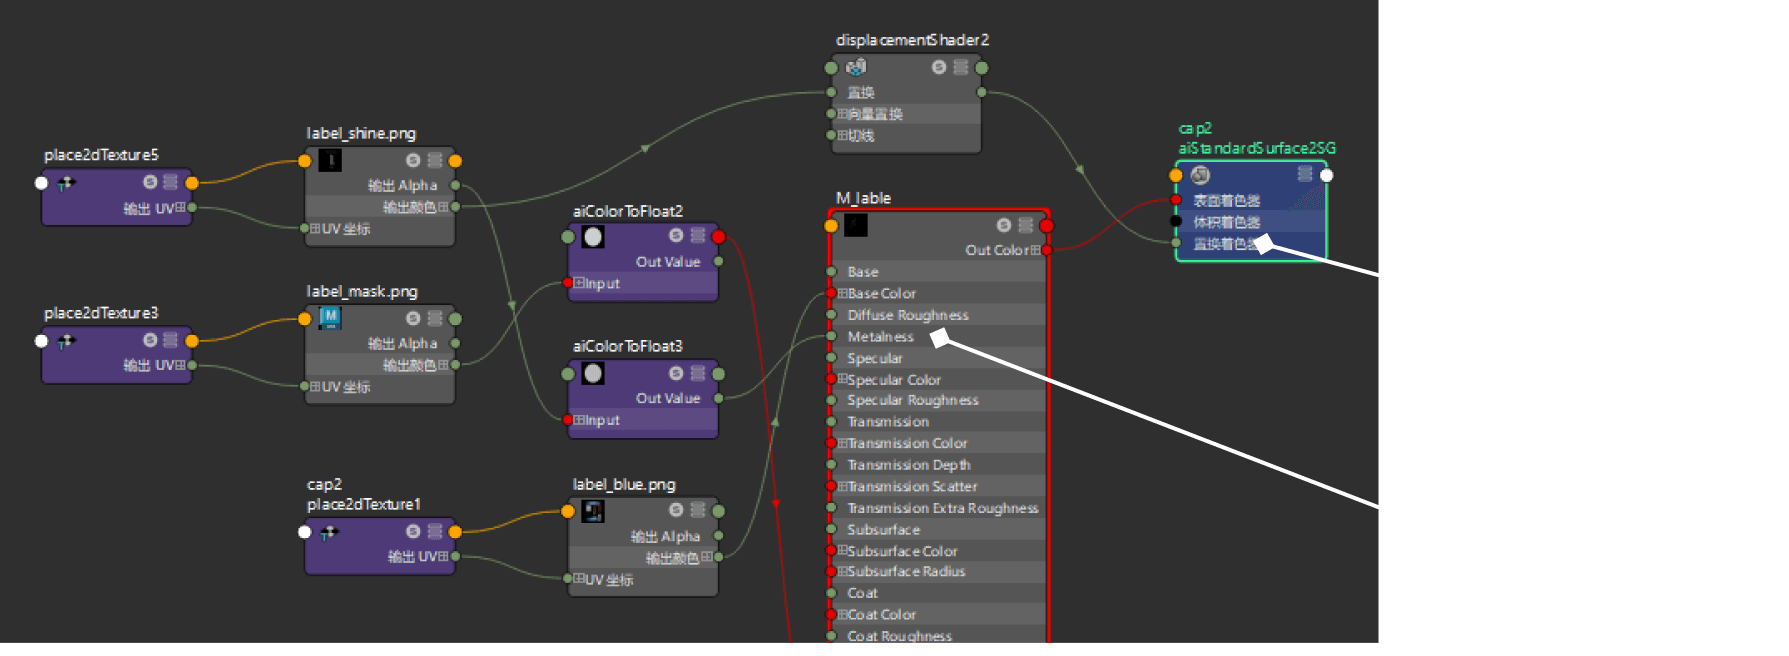
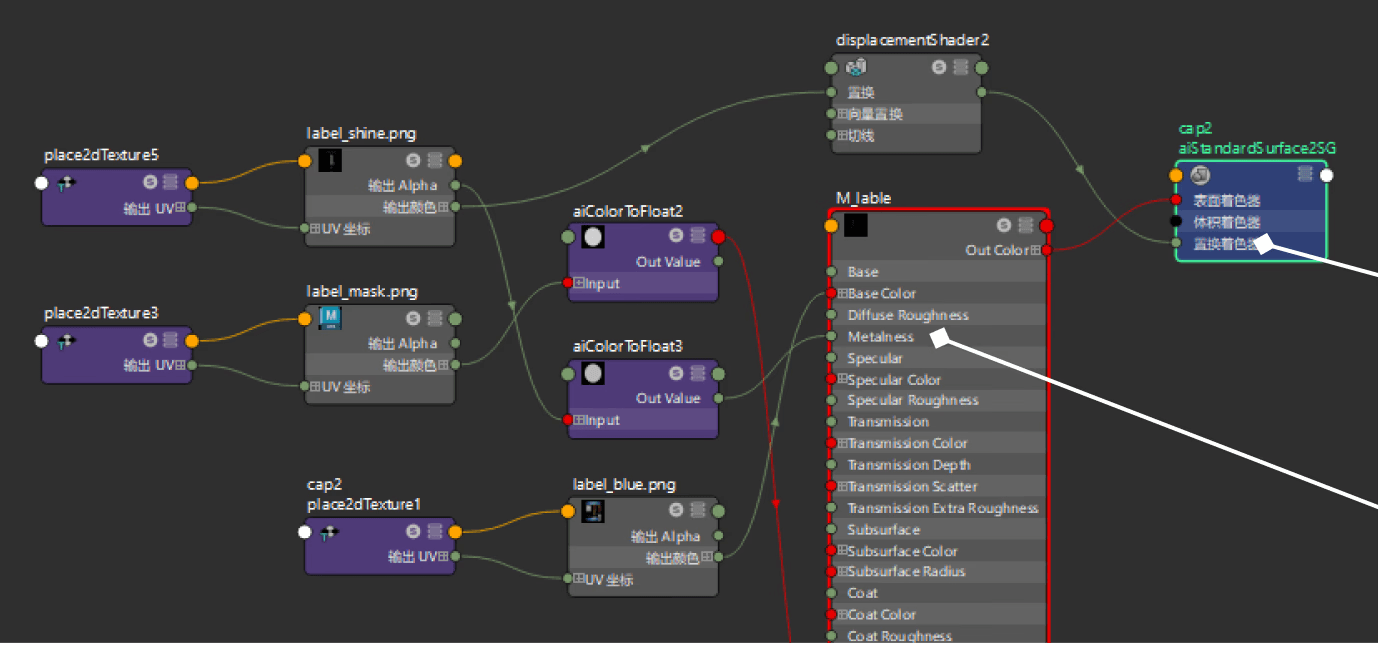
To enhance the texture of the label, I used Adobe Illustrator to create a displacement map for achieving a three-dimensional effect. Additionally, I created a metallic map to enable a combination of multiple materials for the label.
Materials and Shading

Art test
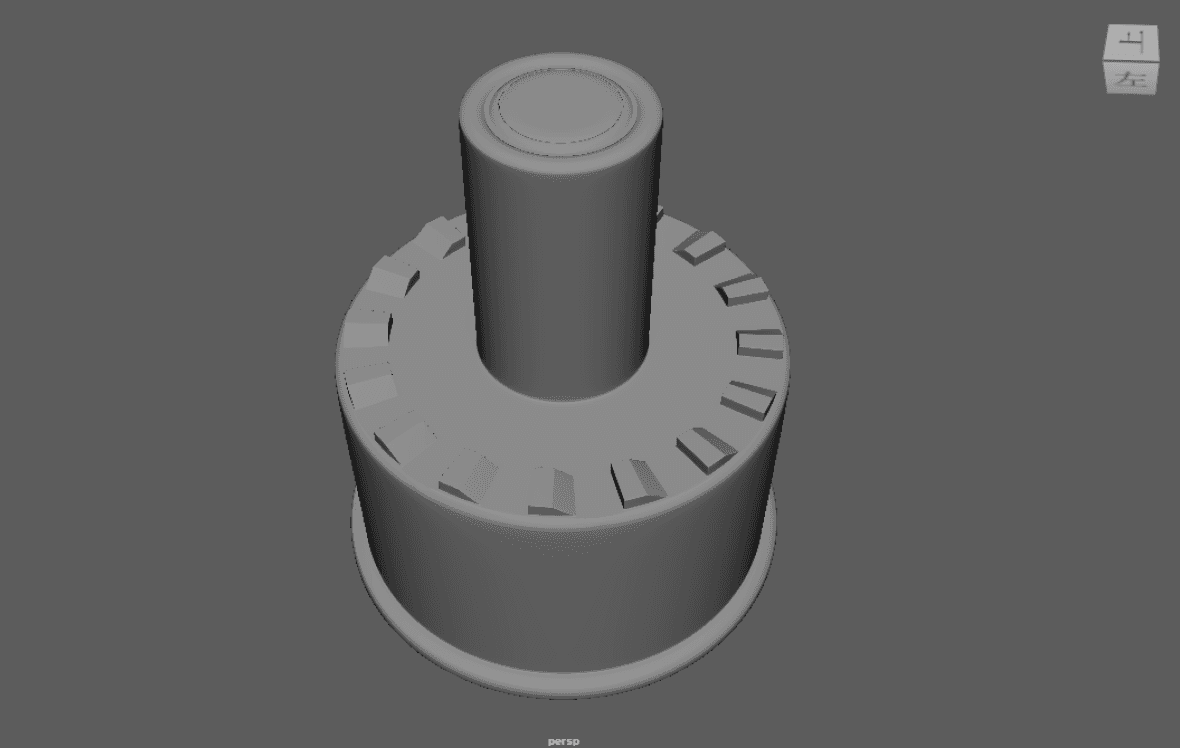
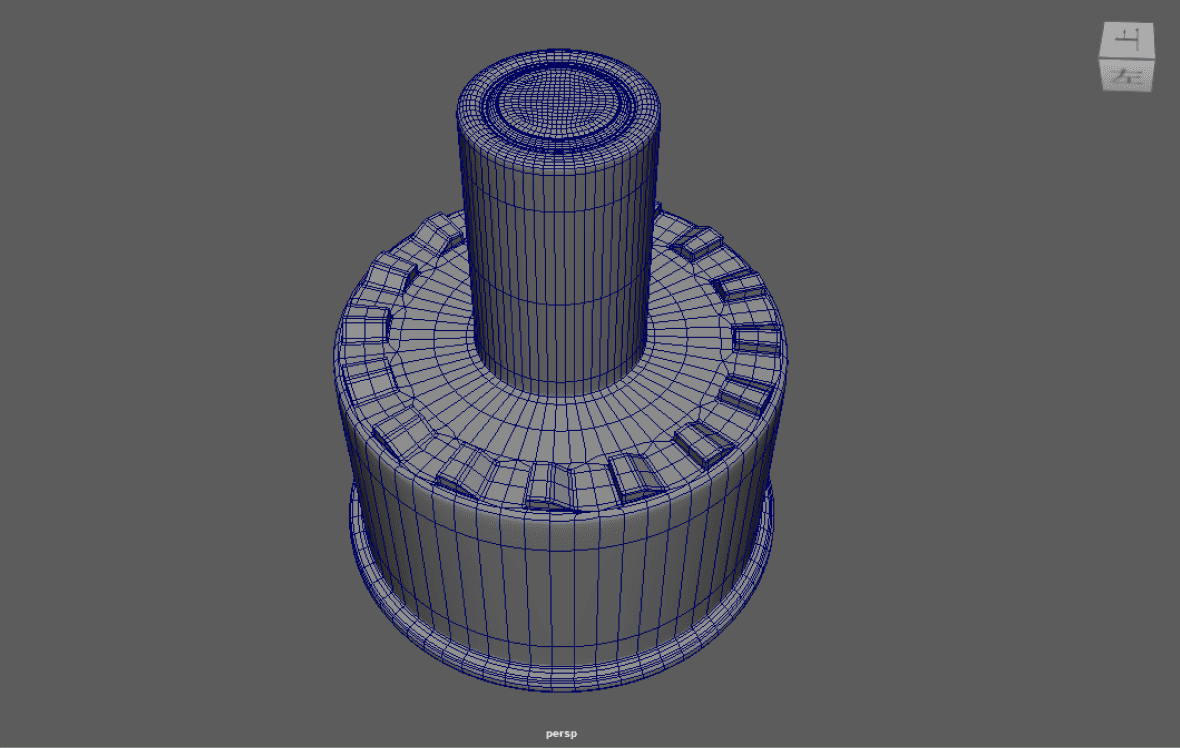
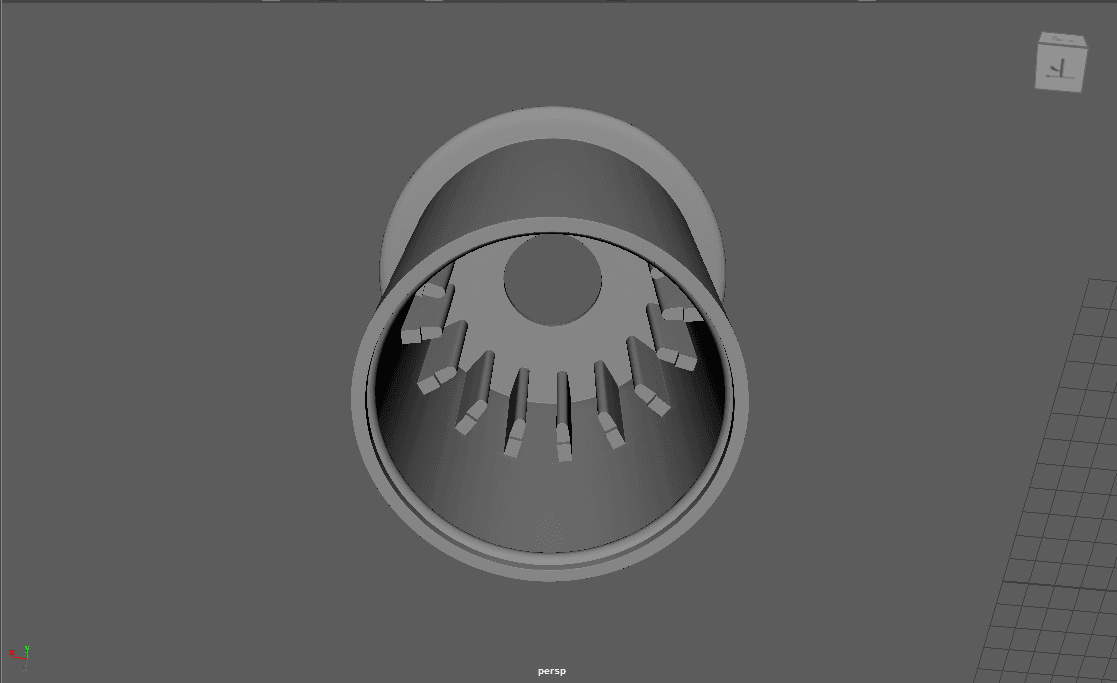
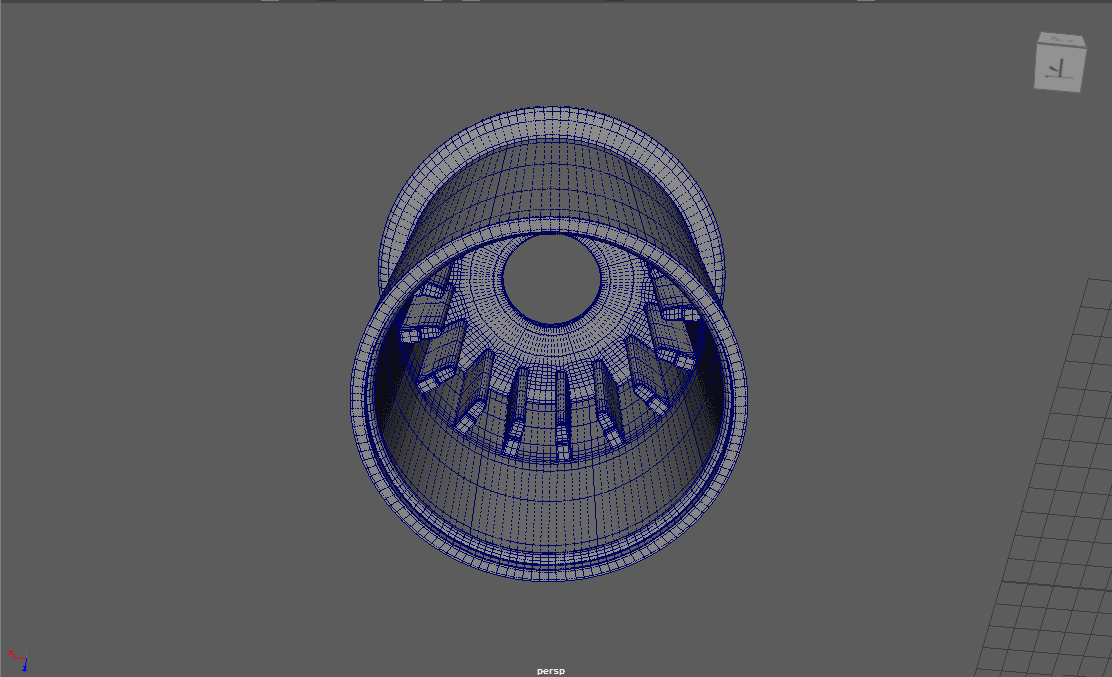
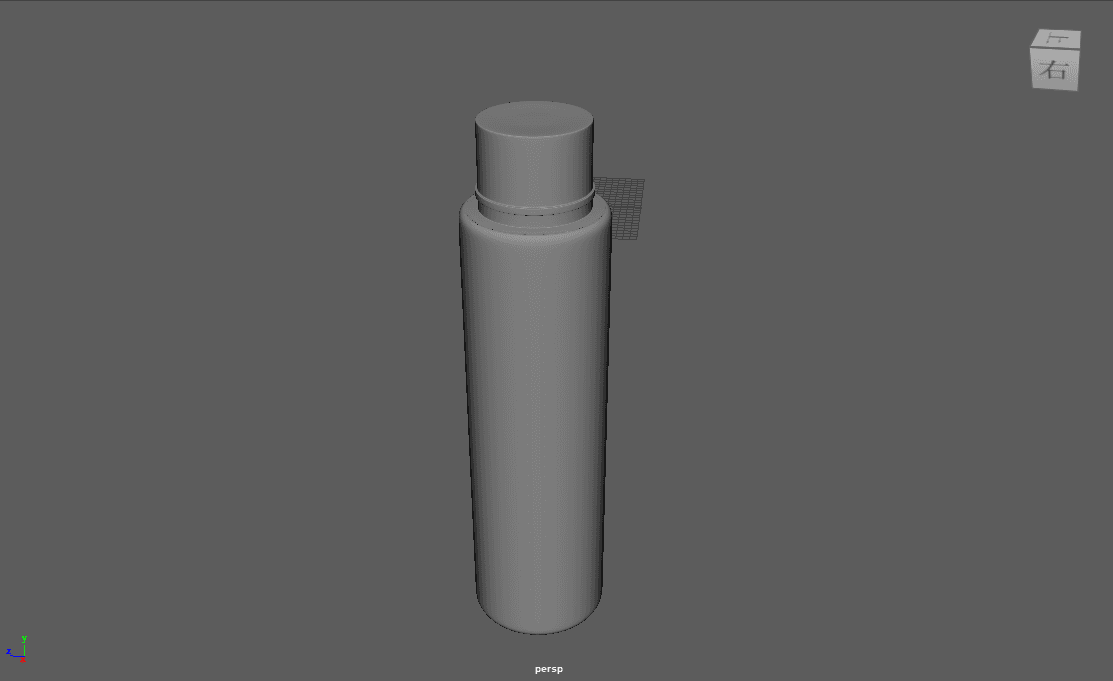
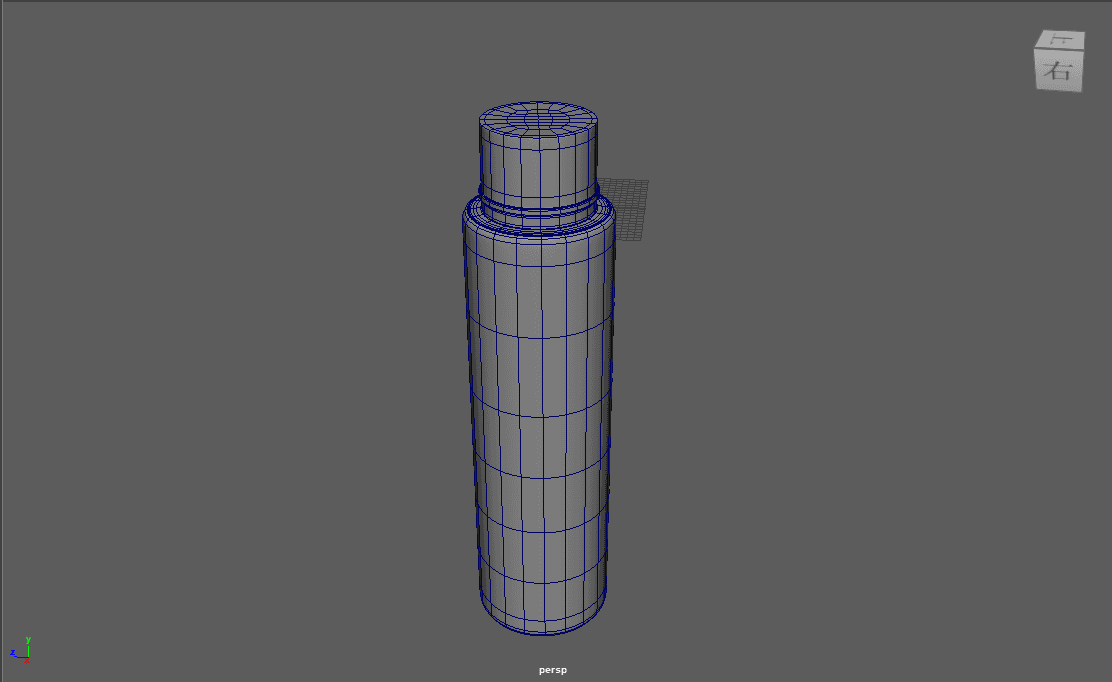
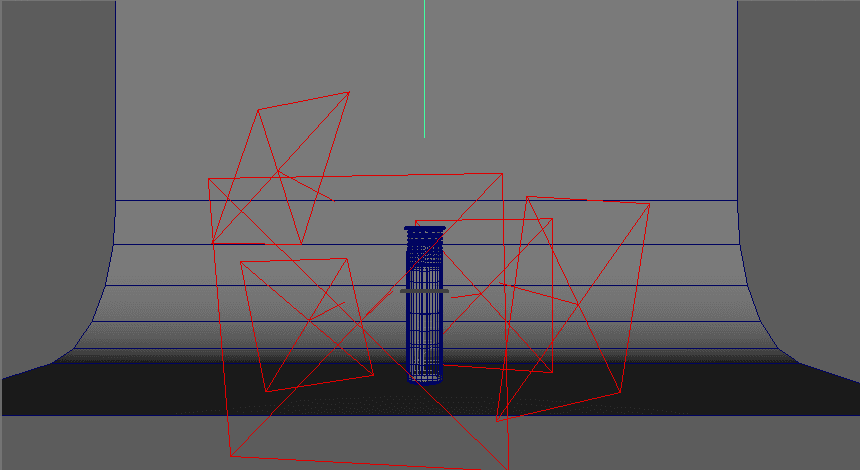
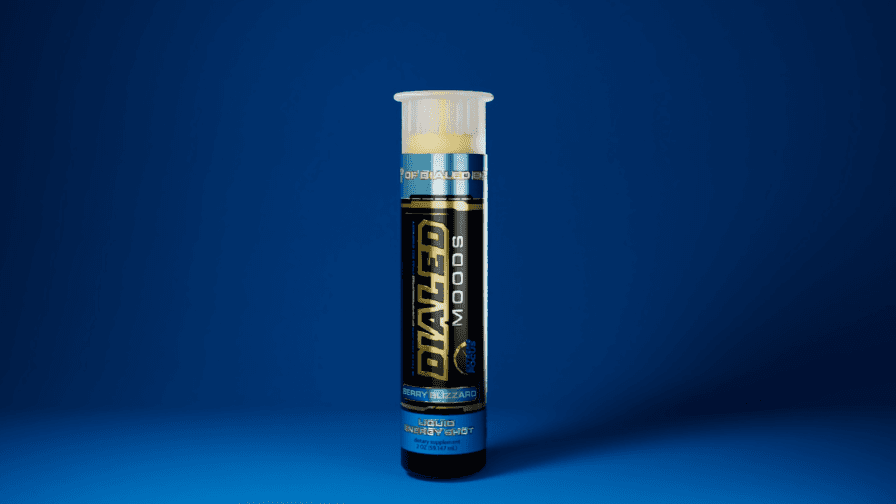
Product Modeling
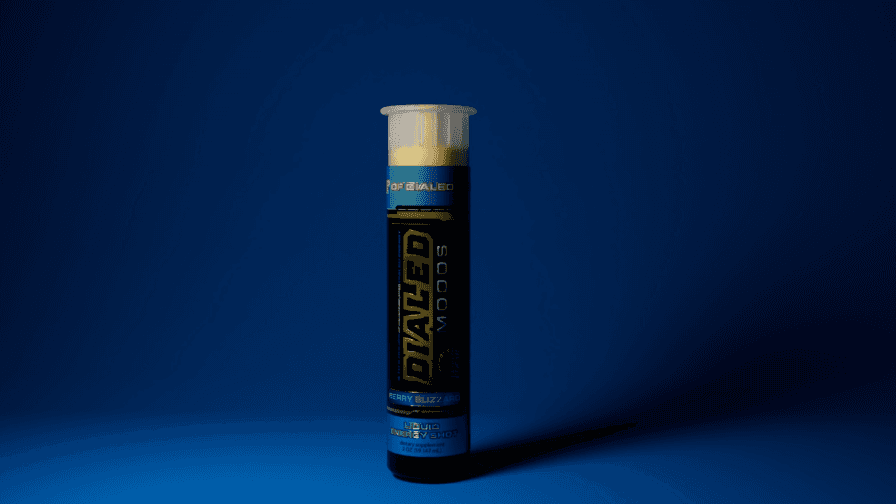
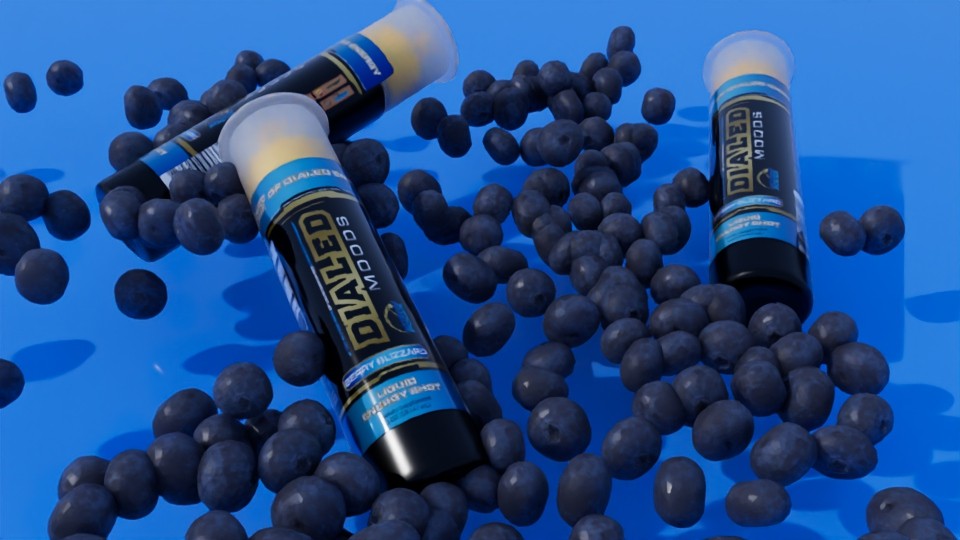
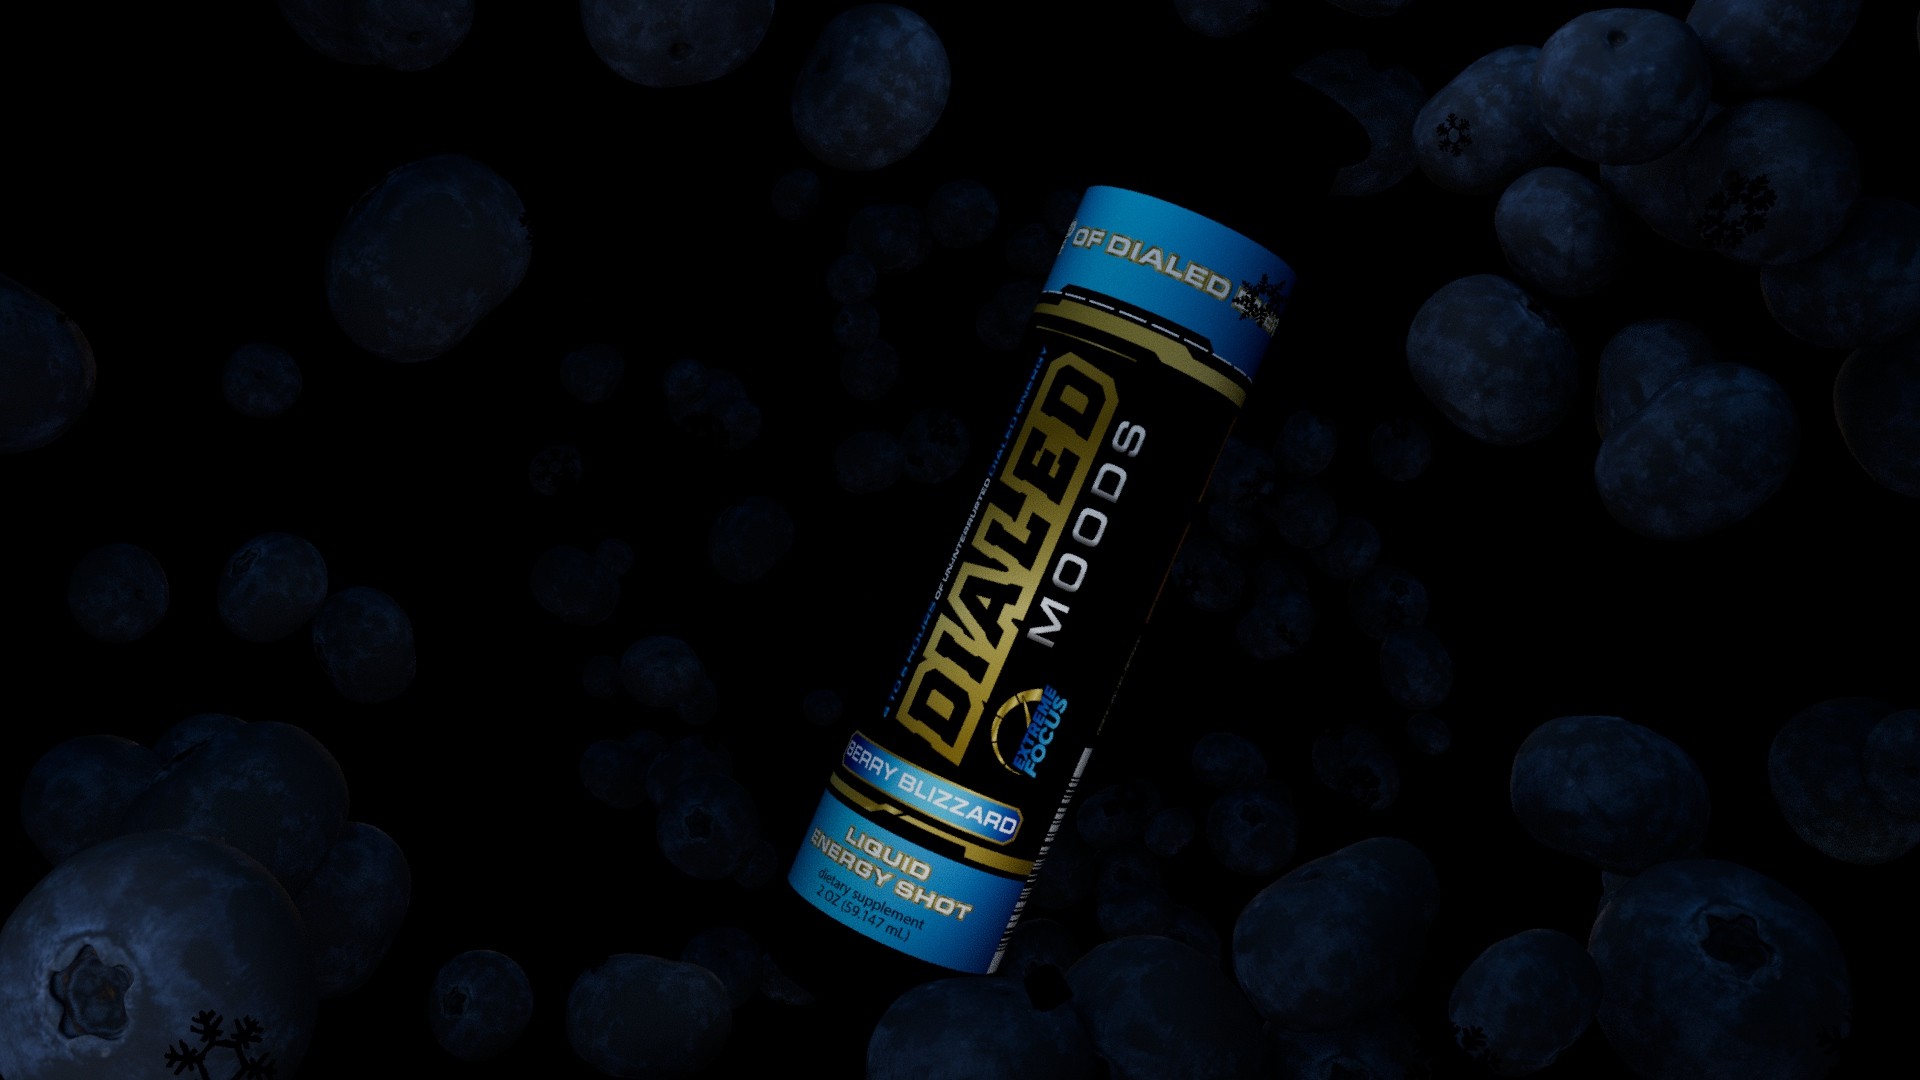
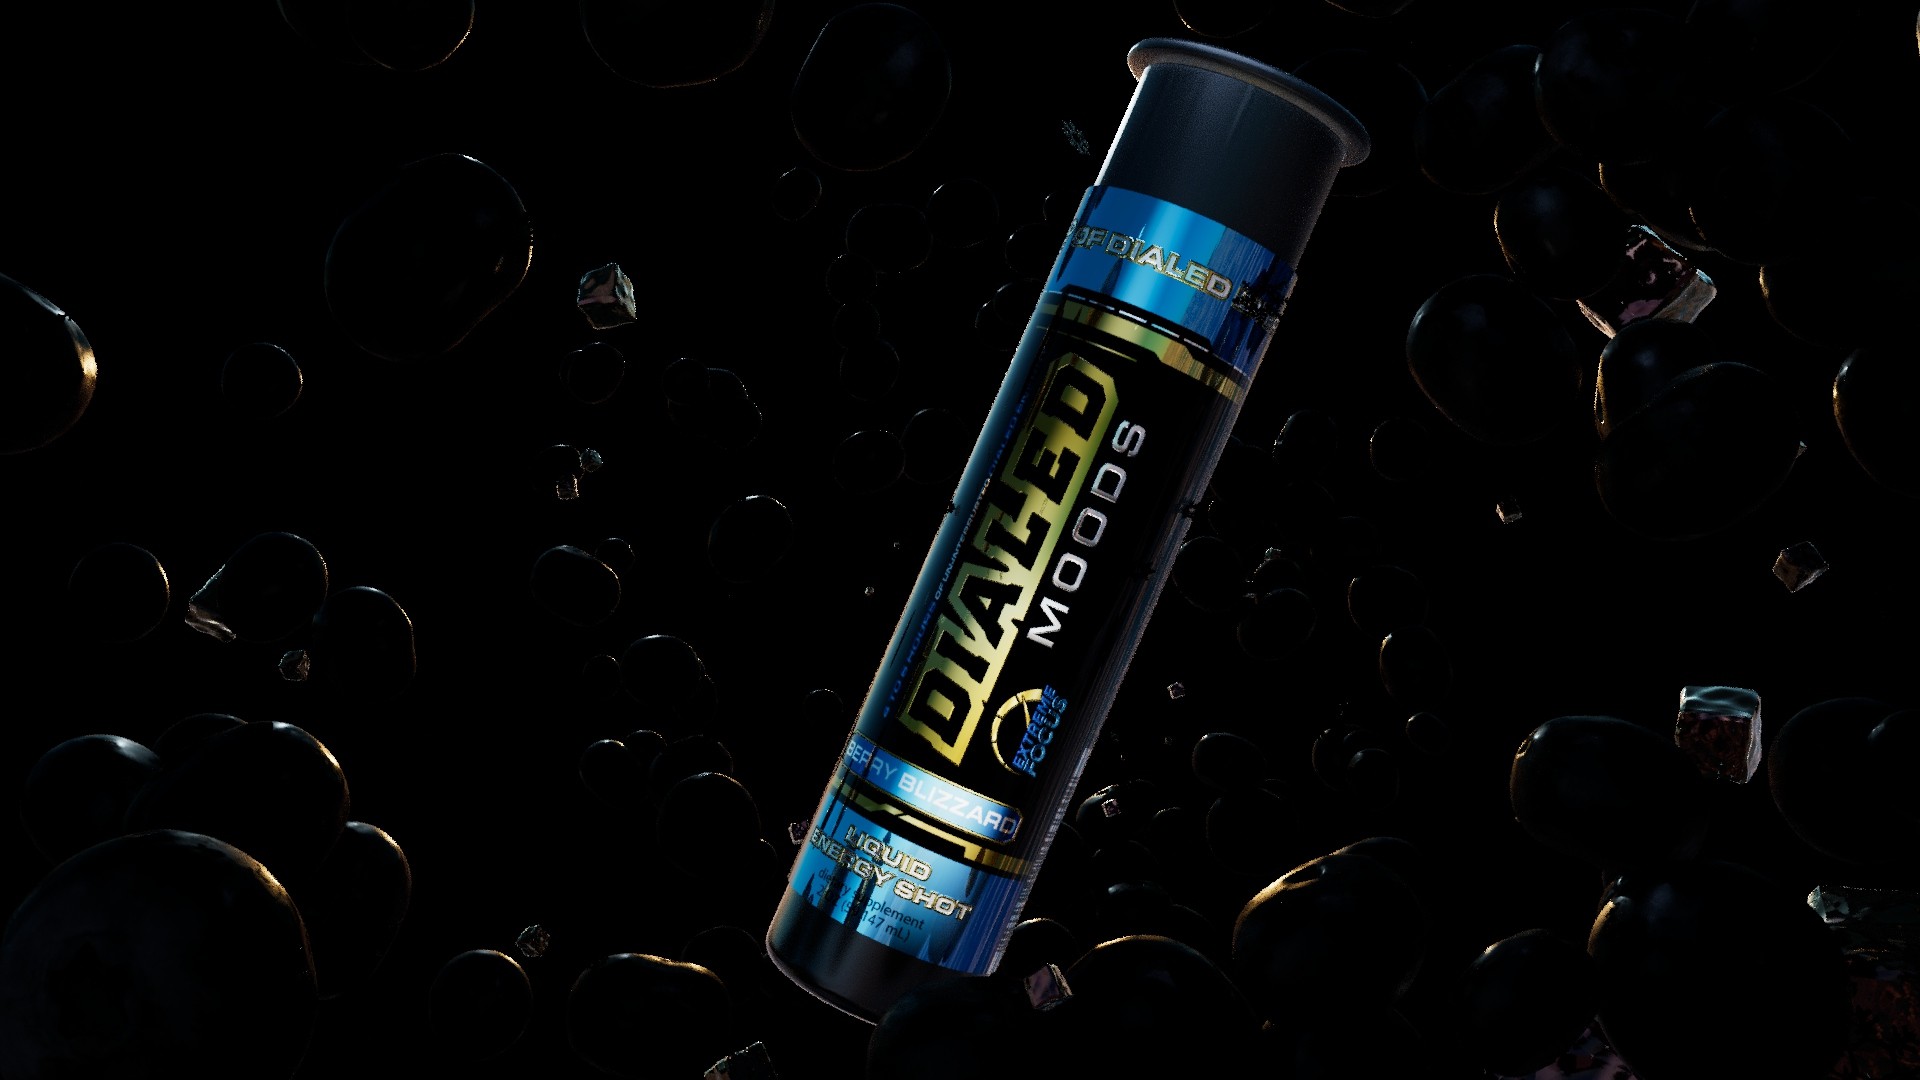
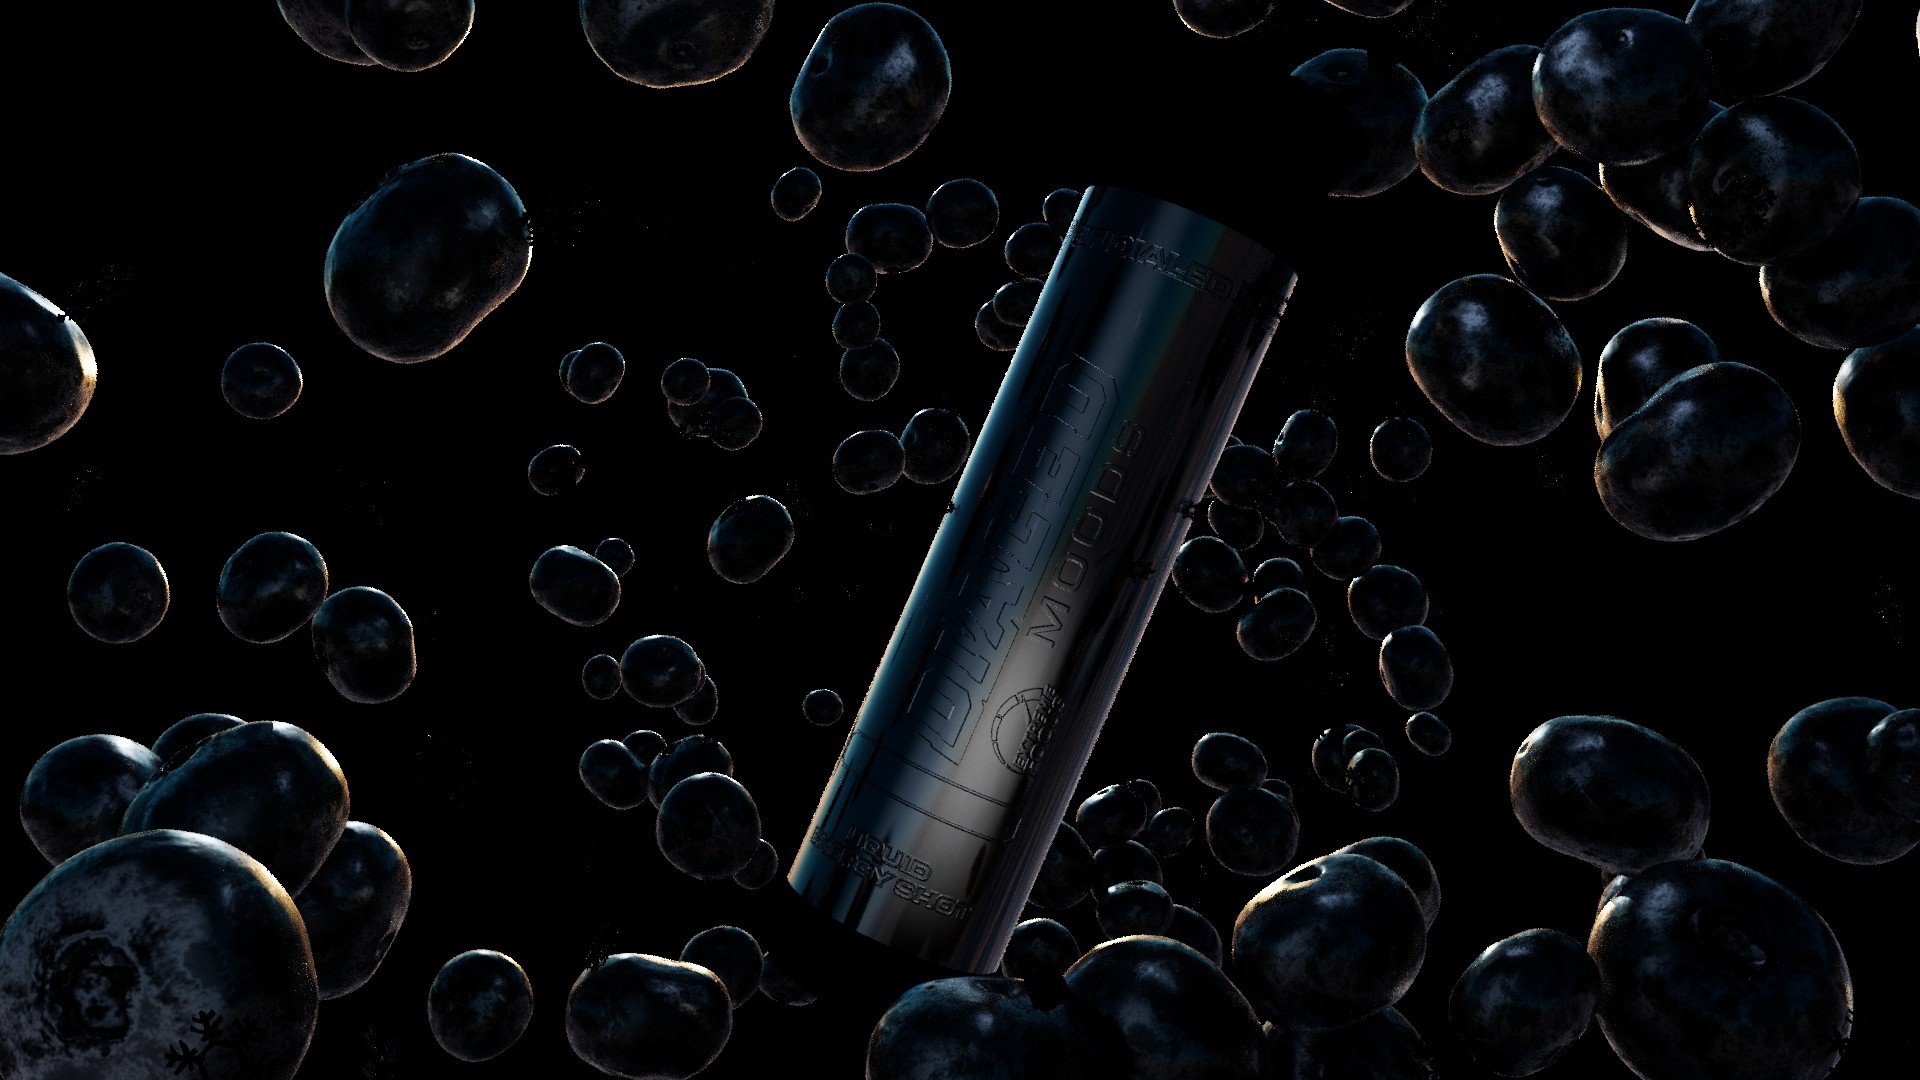
Product Render
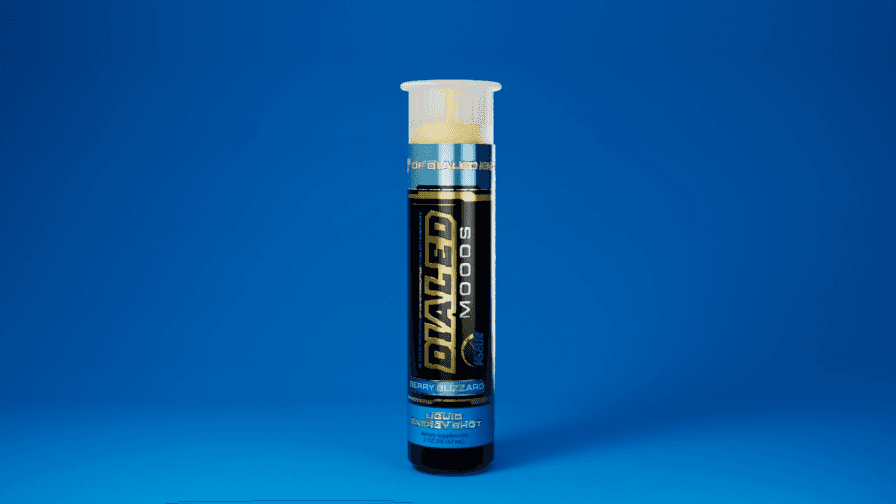
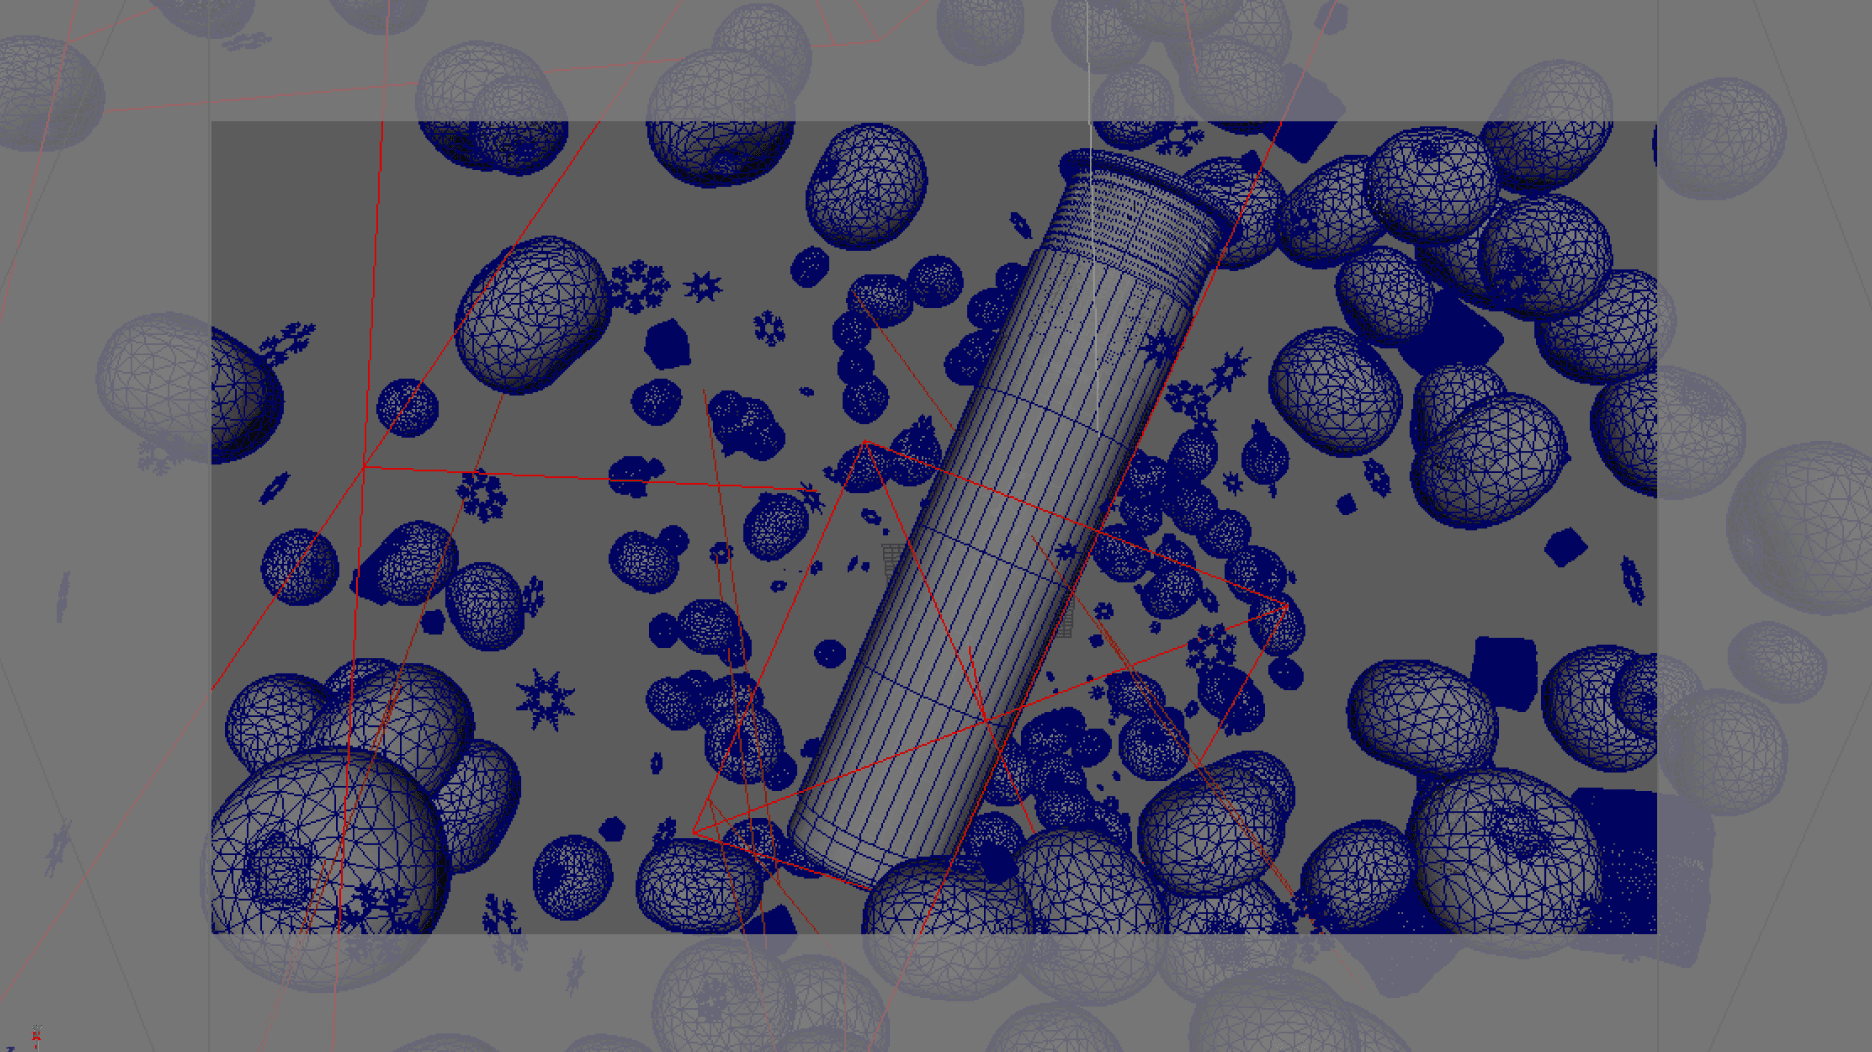
Modeling
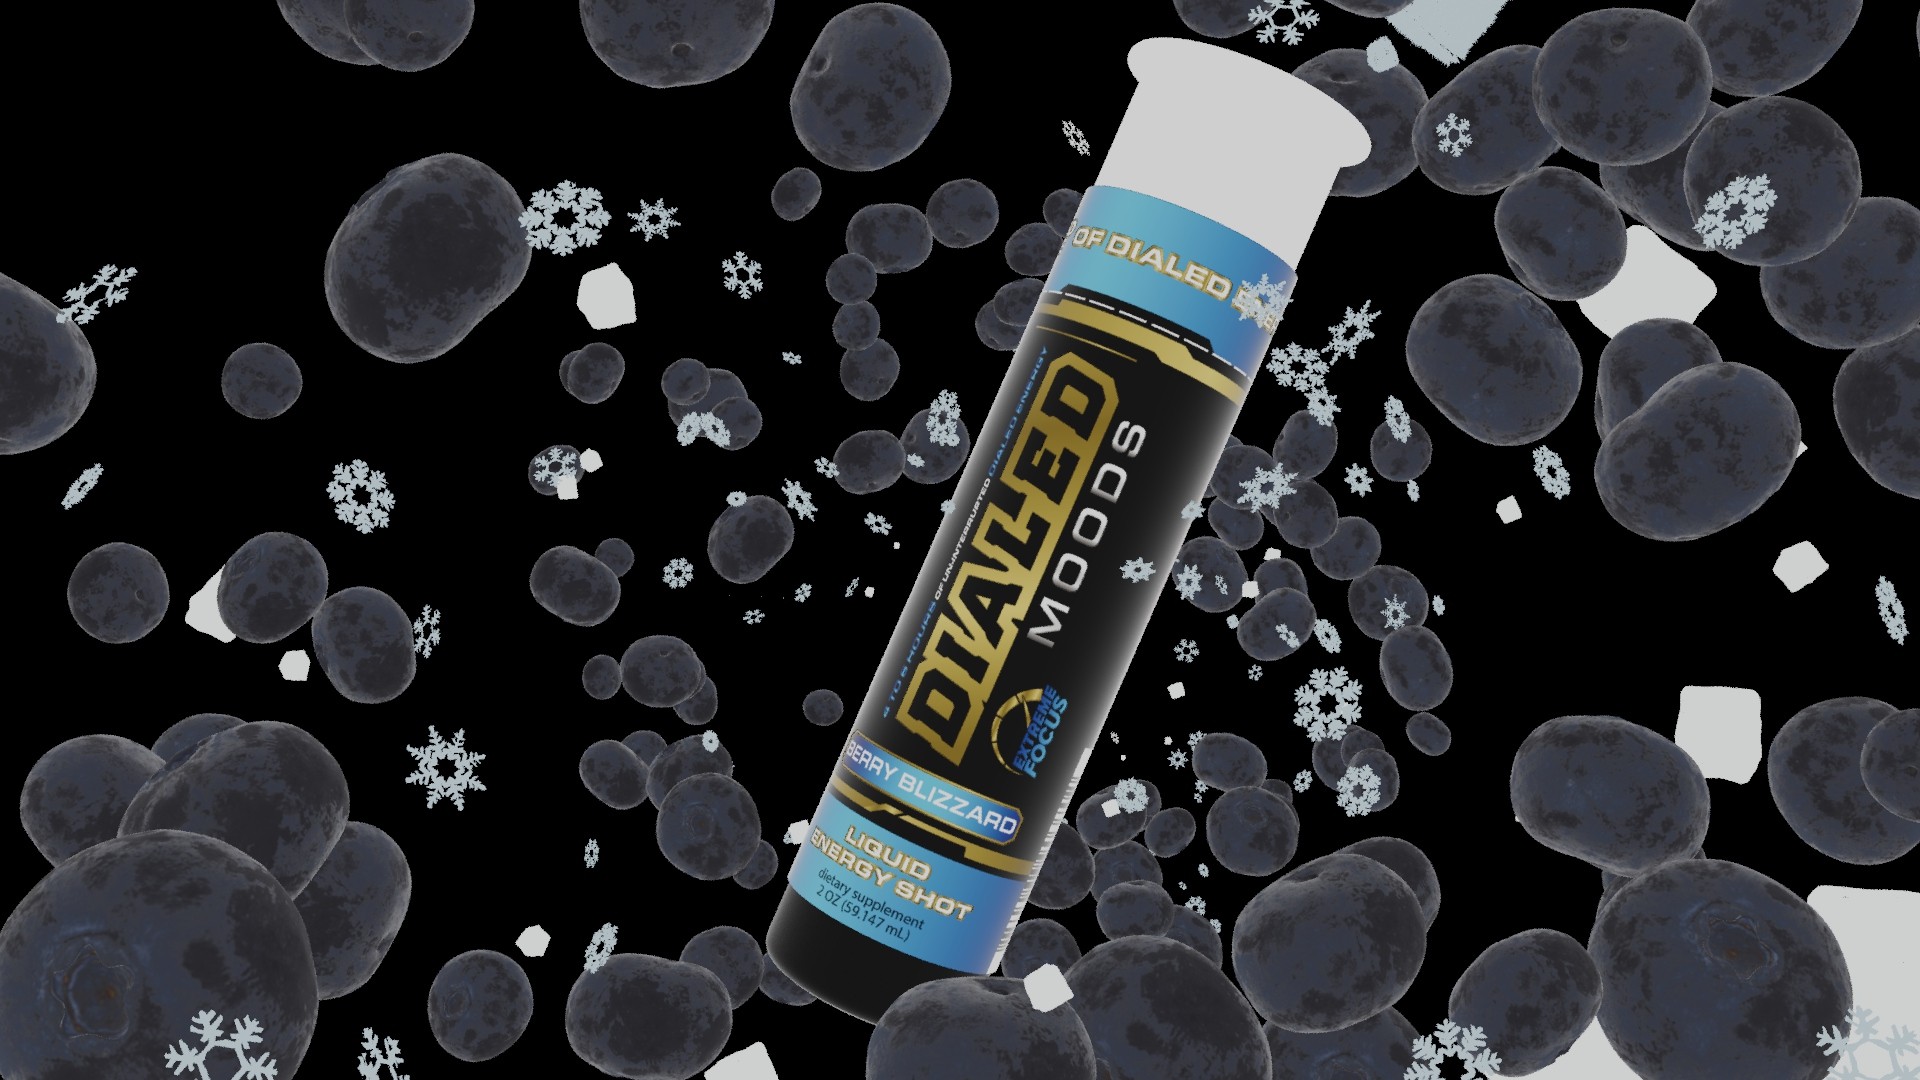
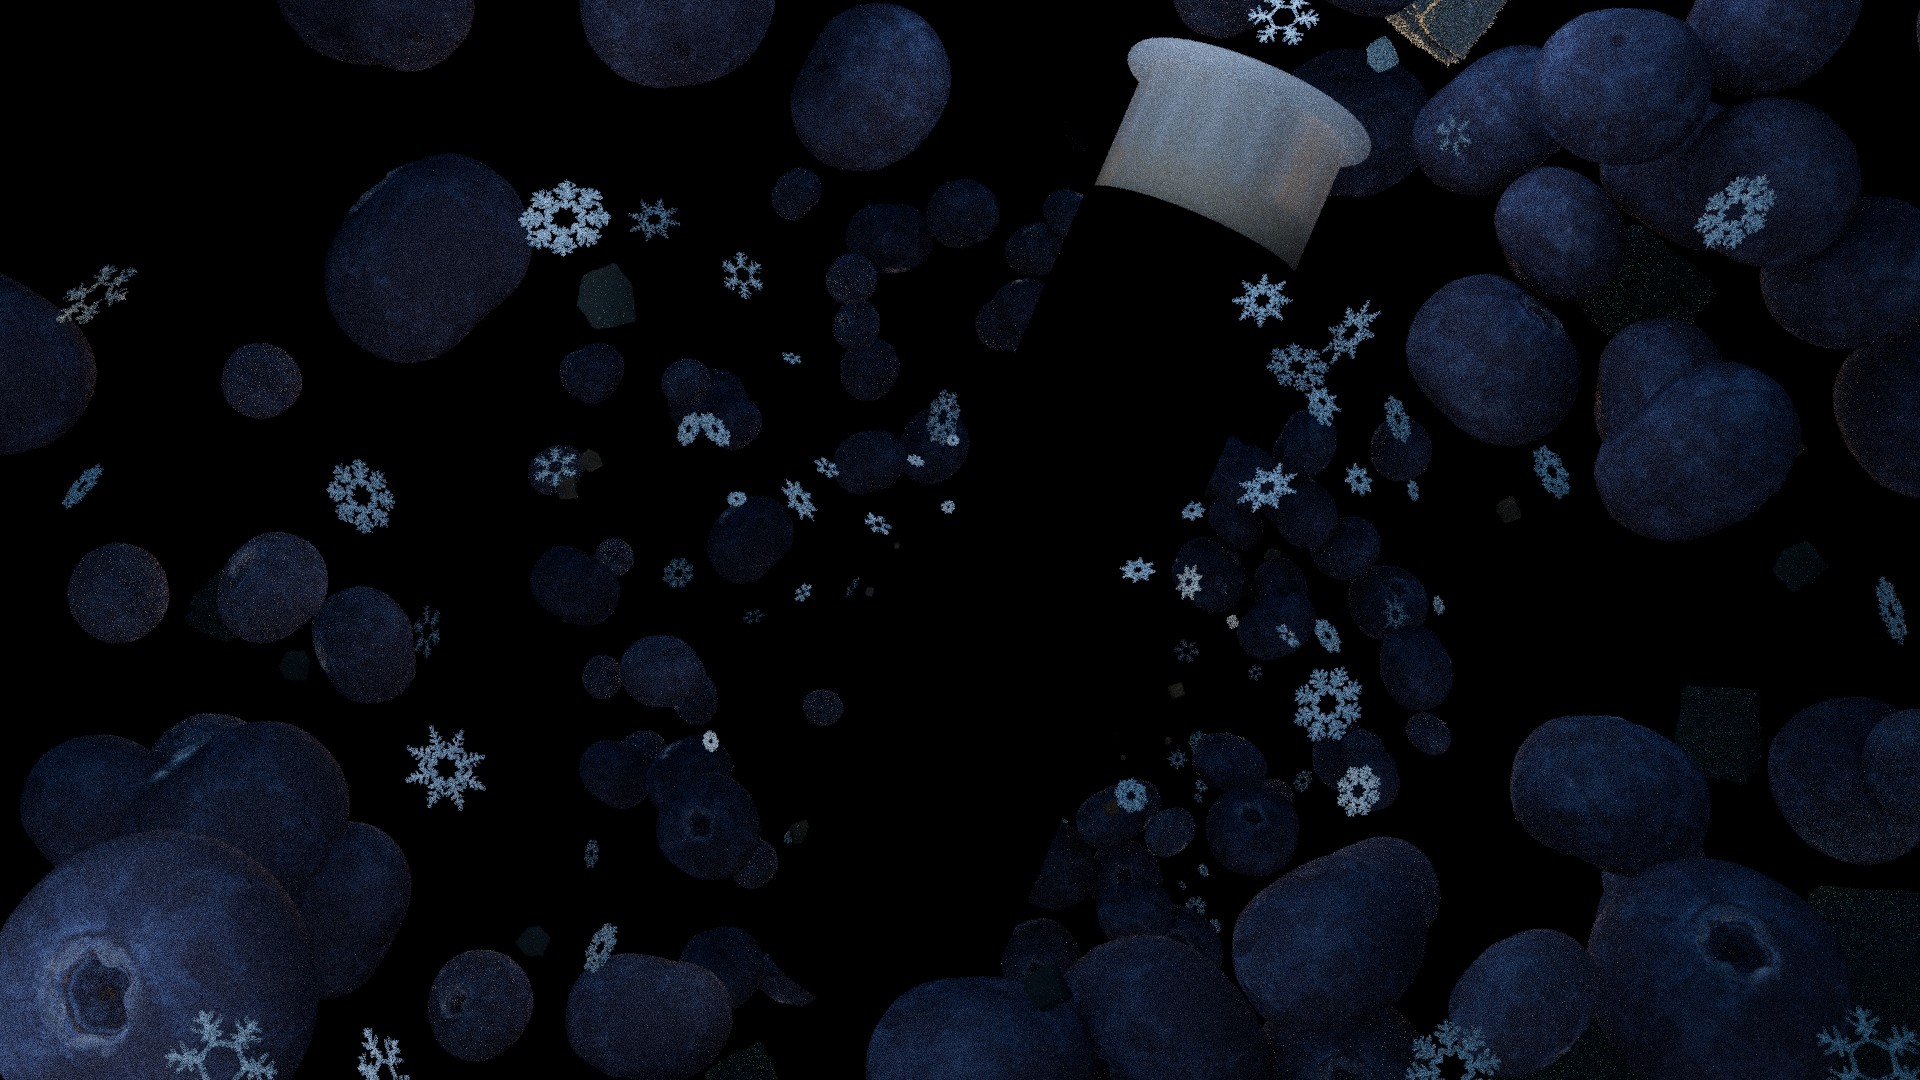
Promotional Scenes
Additional material I made
Lighting
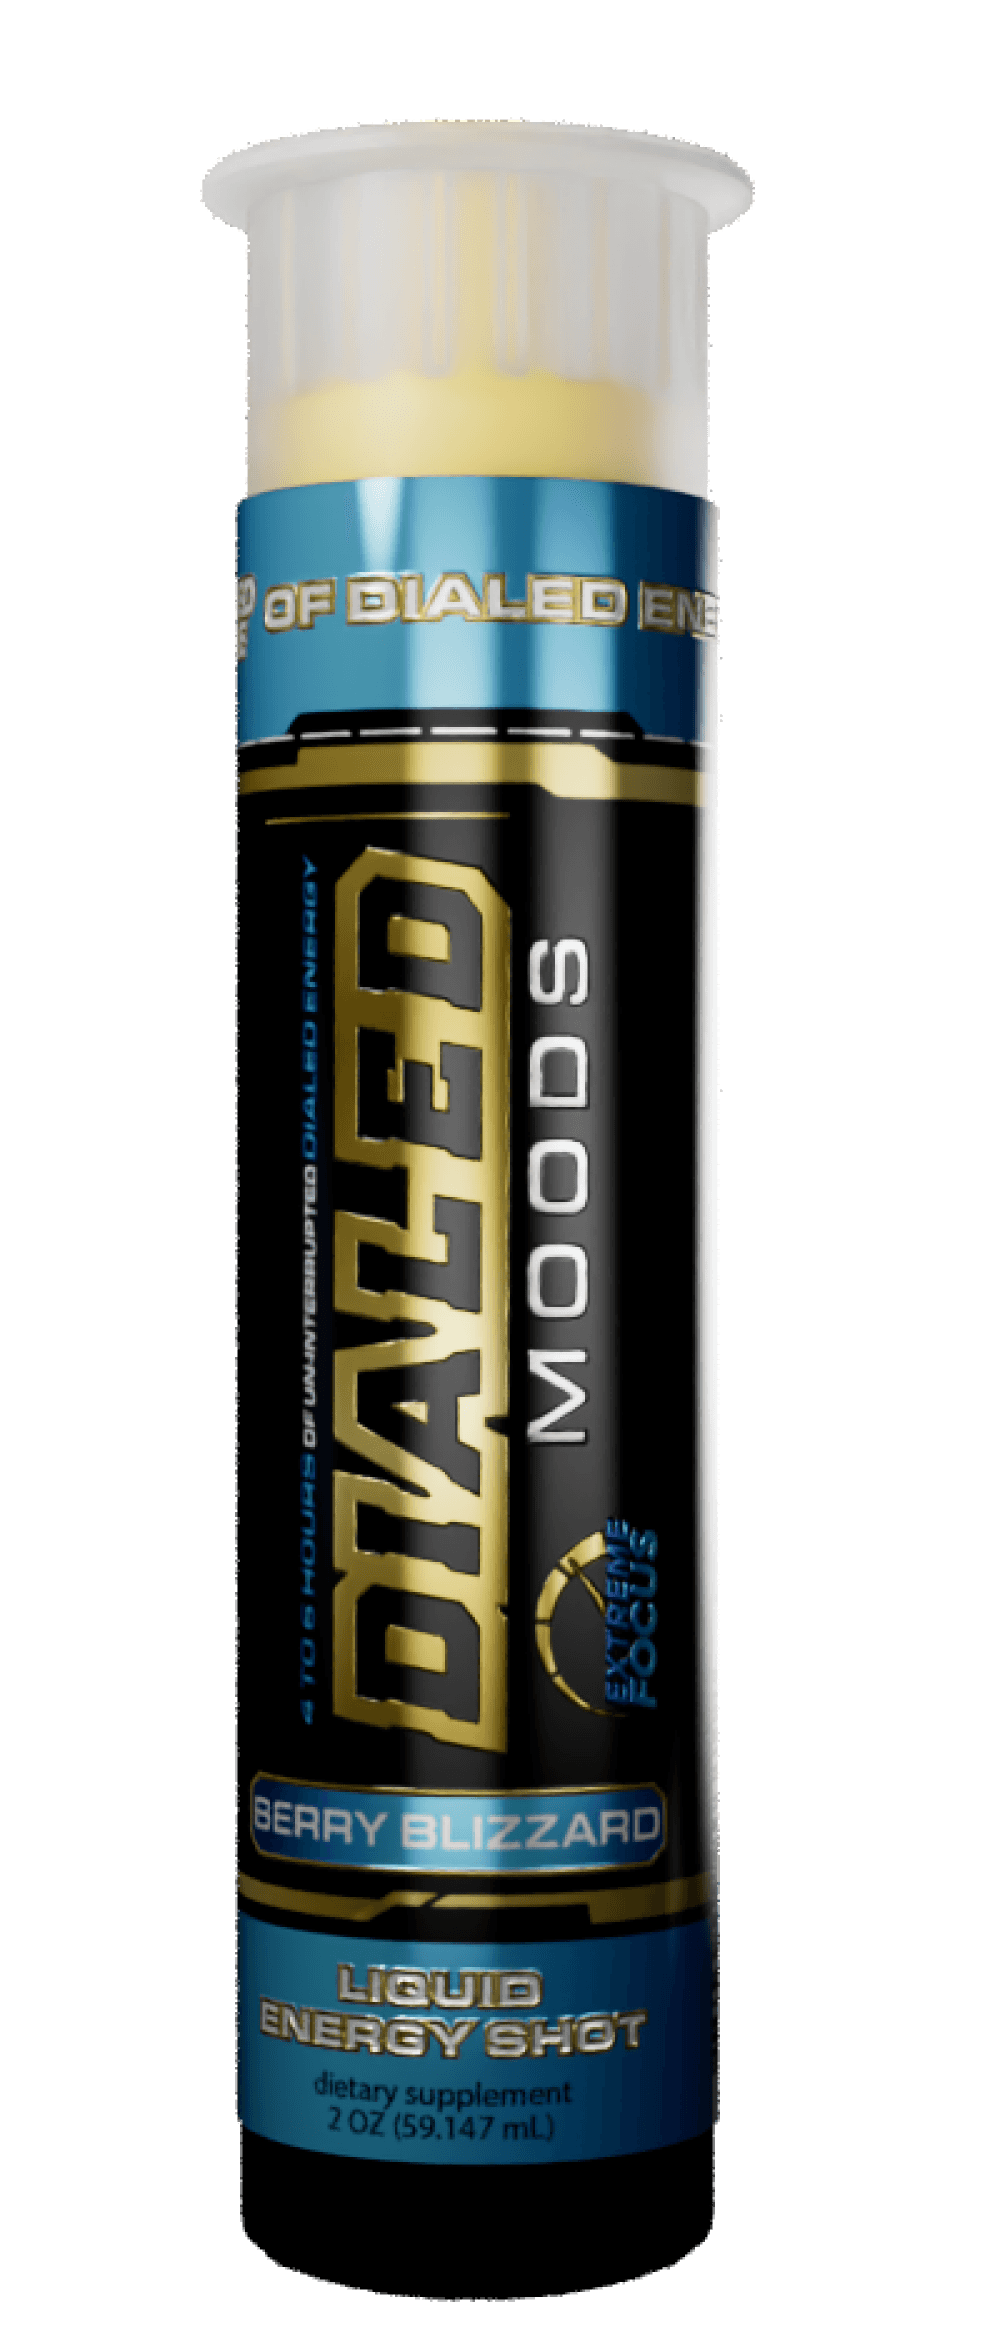
Using the coat and thin film features, I simulated the thin layer adhered to the label.
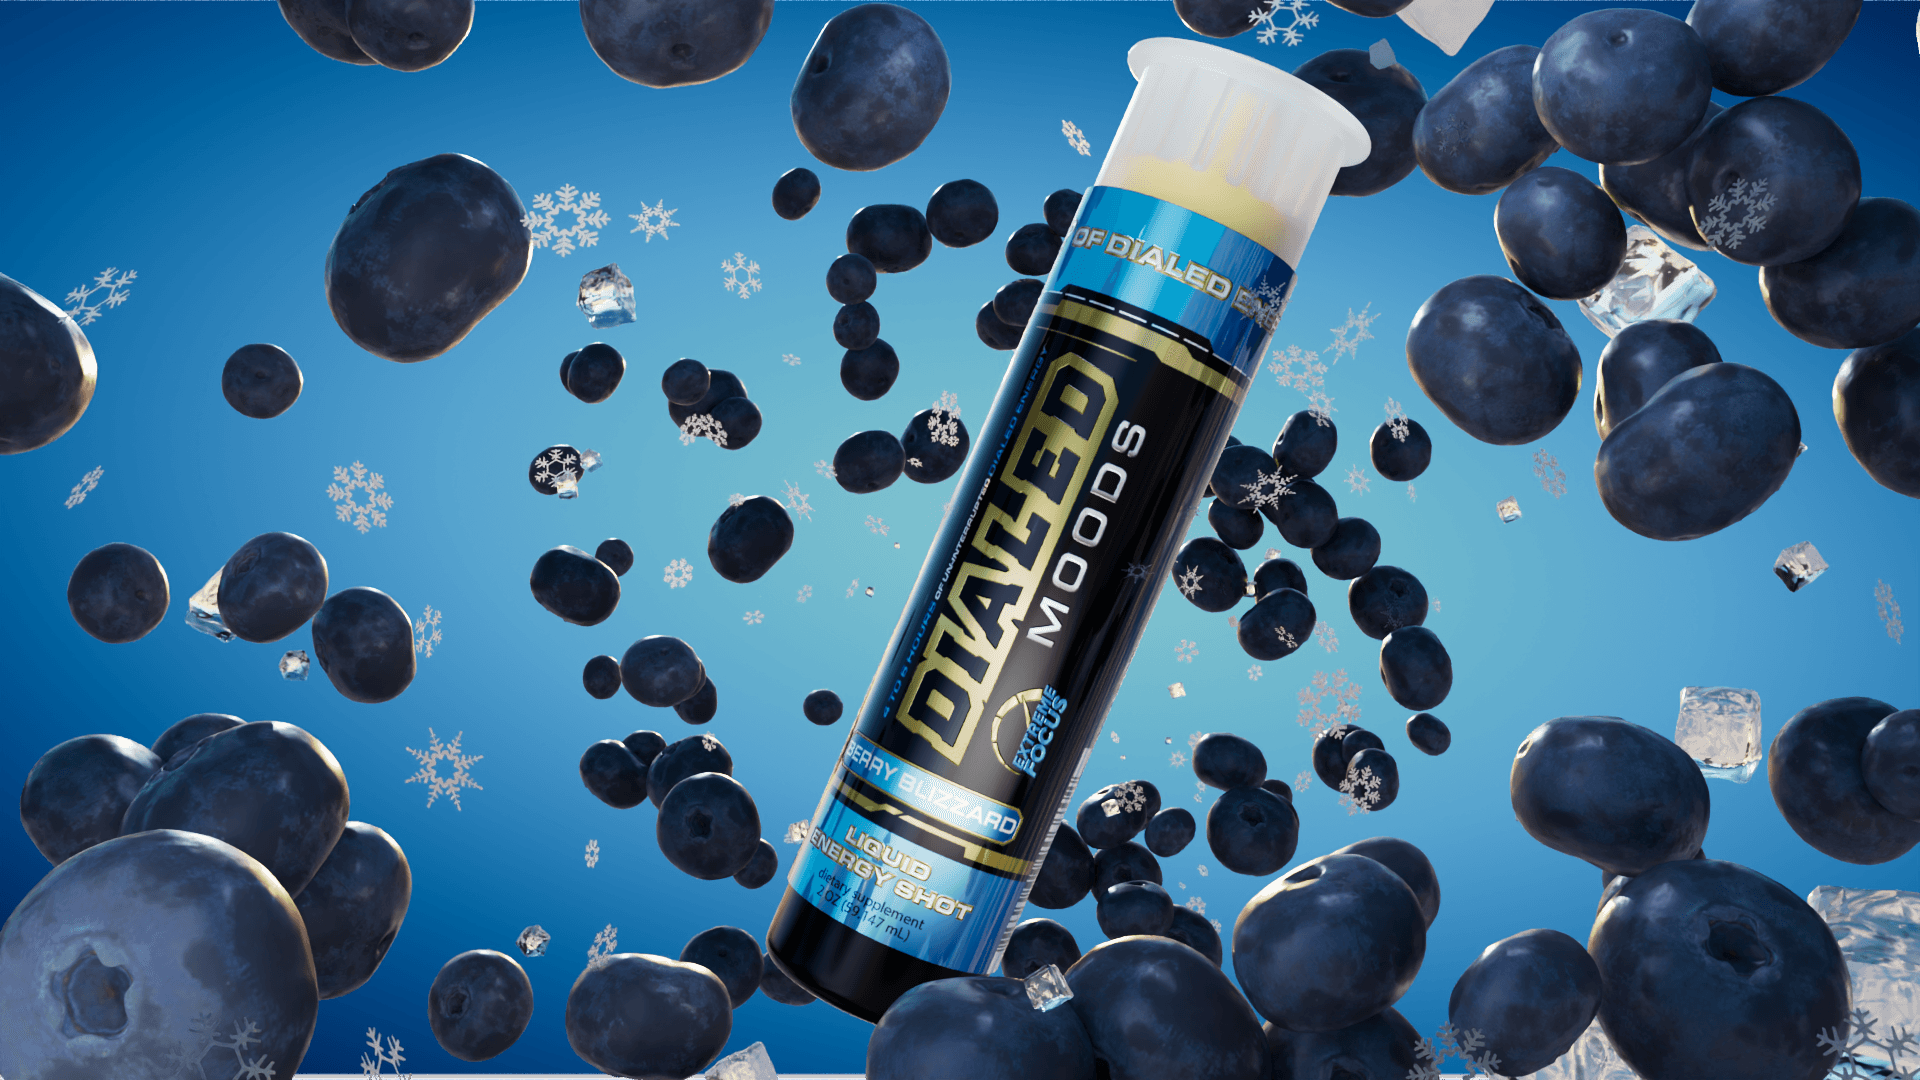
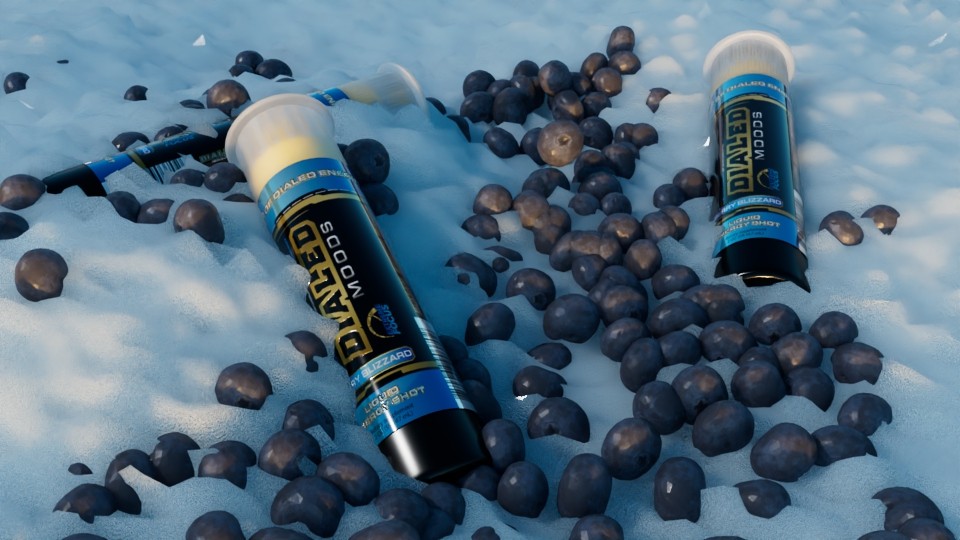
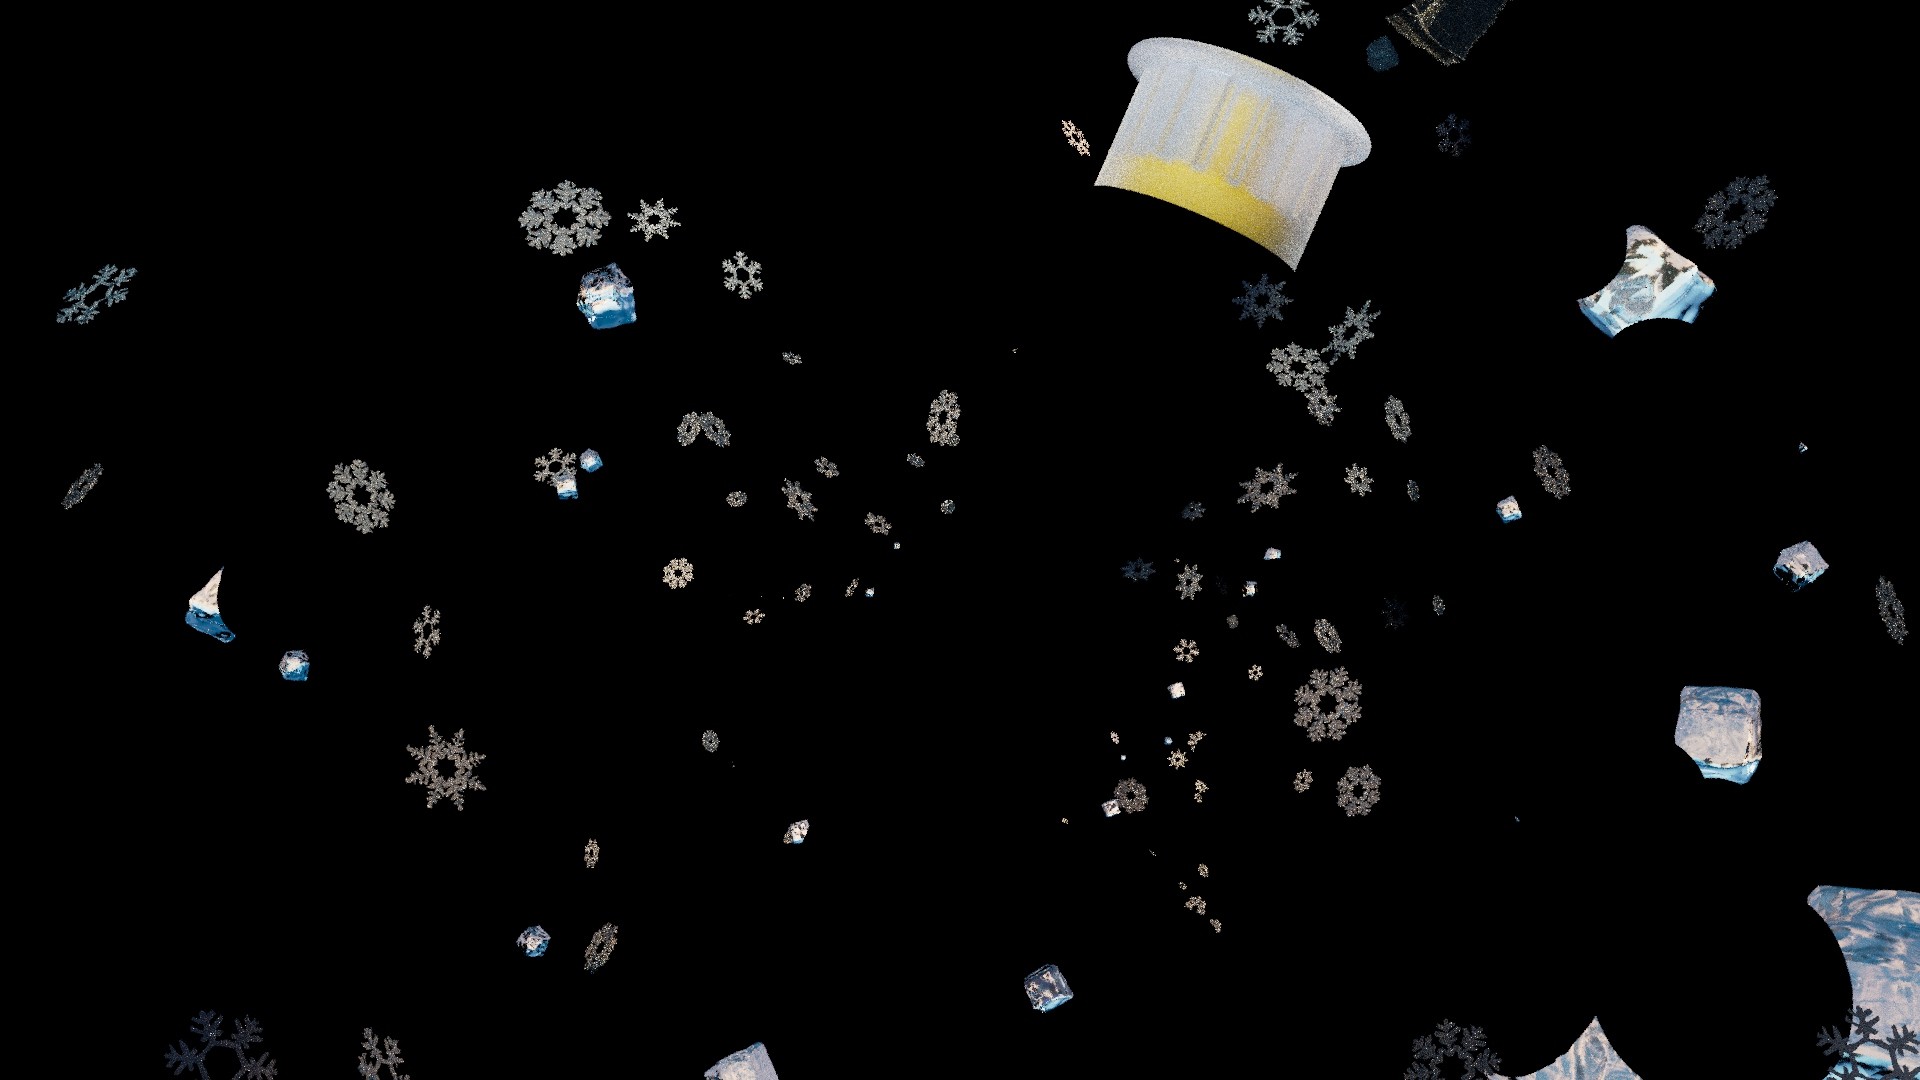
Snow
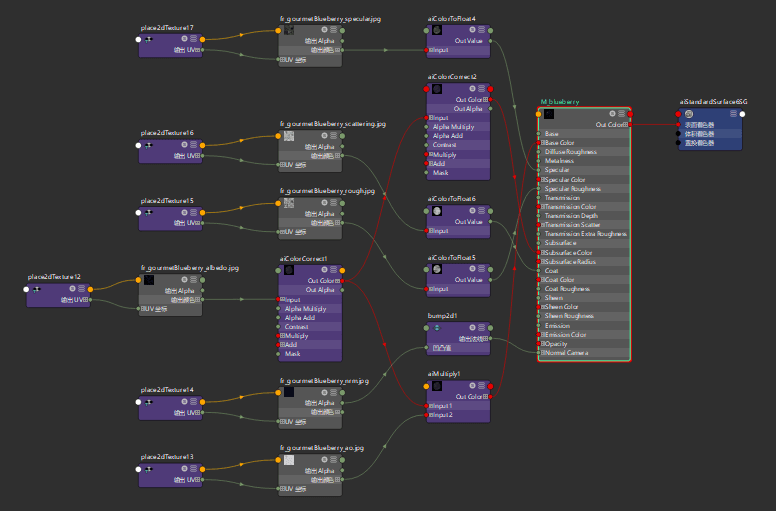
Blueberry
ID

Diffuse
Normal
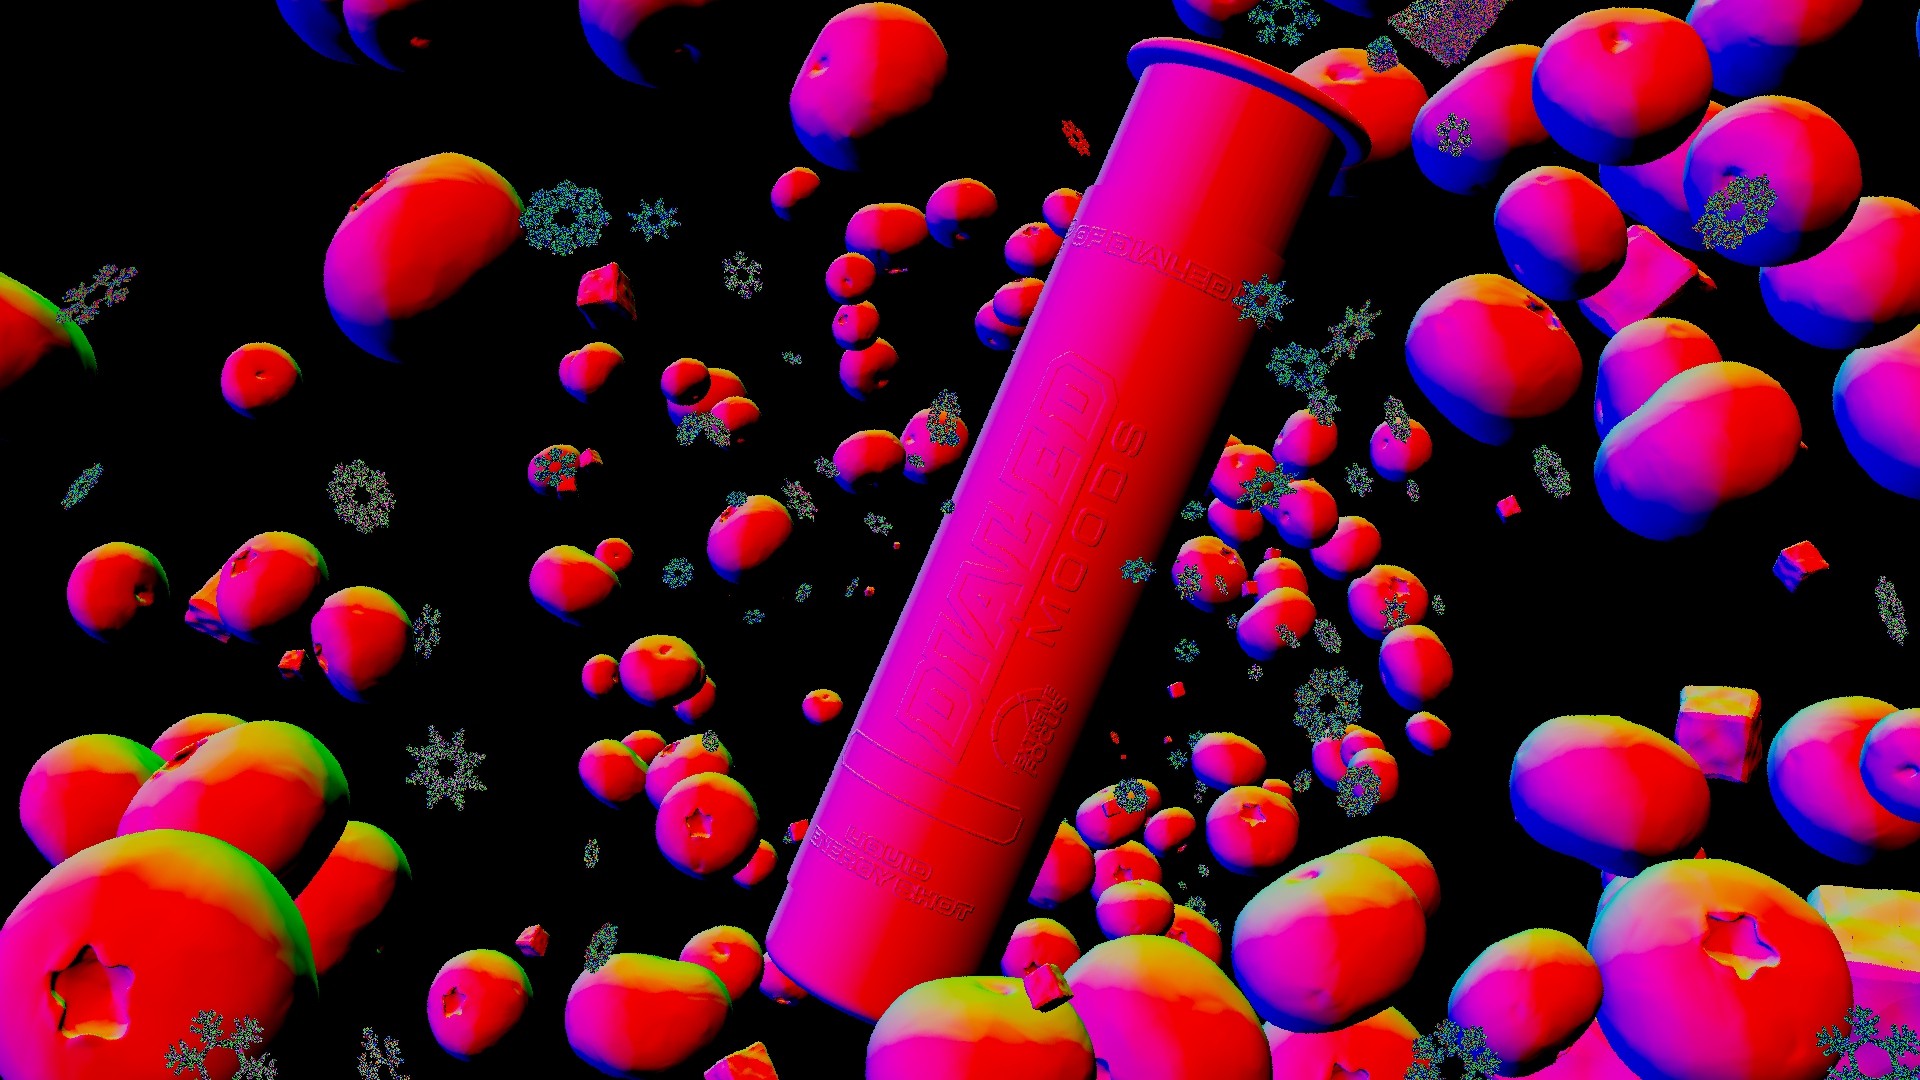
Specular
Albedo
SSS
Coat
Transmission